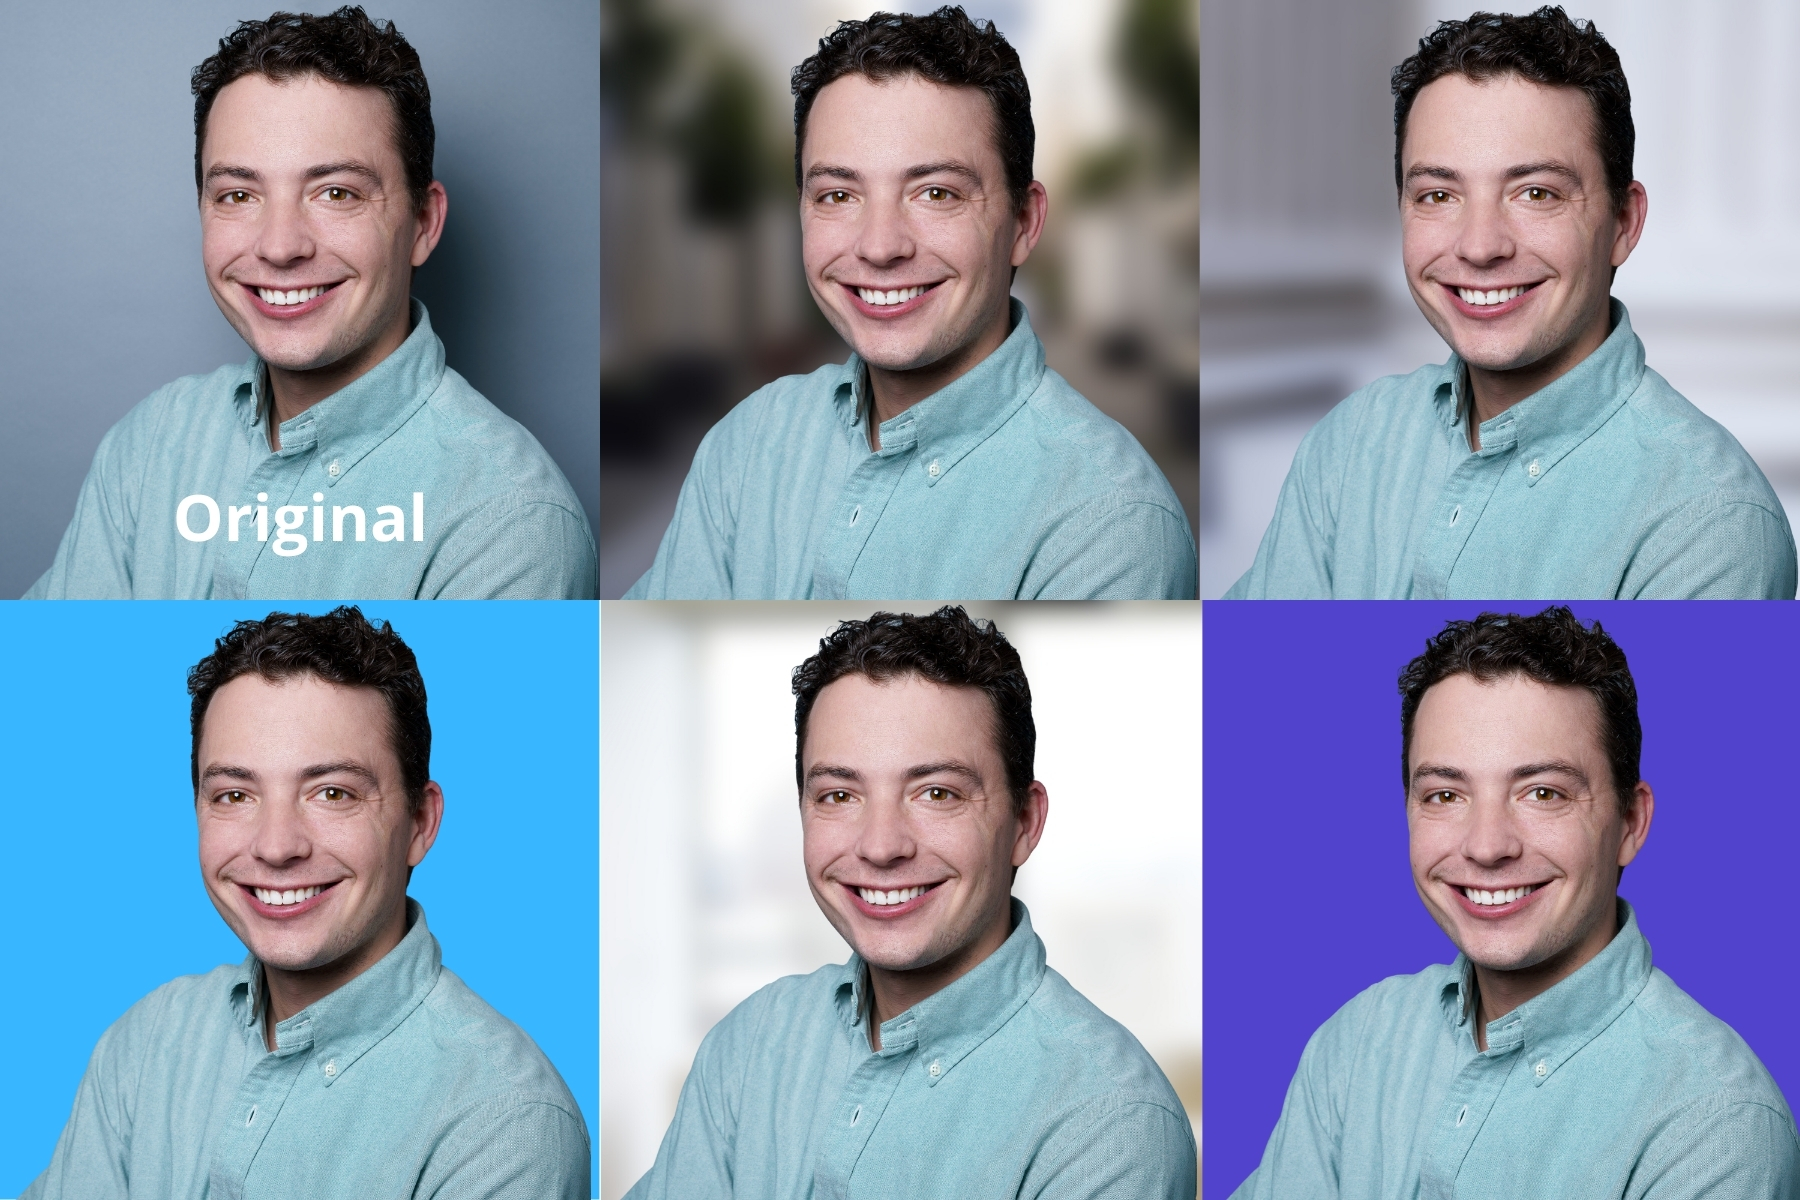
If you’ve ever seen a headshot that’s been pasted (without a background) on to an internet graphic, business card, or brochure, you might have wondered how that photo was created.
Headshots with a transparent background are a wonderful marketing asset to have in your arsenal. They can be used in a wide range of media to add a personal and friendly touch.
Traditionally, photographers and editors would need to use Photoshop (or other technical editing tool) to cut out the background of photos. It’s a long and tedious process.
But these days, anyone can create a headshot with a transparent PNG by using one of several user-friendly graphic design platforms. Since your headshot won’t have a background, you can place it in a variety of places on websites and print materials.
In this article, we’re covering how you can use Canva to turn your headshot into a highly versatile transparent PNG:
How To Create A Headshot With Transparent PNG
Before we get started, you should know that not all photos will work well for this process. In order to get a really clean cut-out, you’ll need as much contrast between you (skin, clothing, and hair) and your background as possible. A solid white background is typically best.
Step 1: Sign up for a free Canva.com account.
Step 2: Start a new project that’s 2250 pixel x 2250 pixel size.
This isn’t a hard and fast rule. If you need other dimensions, just use those. But, don’t size your project too small or the final image will be grainy. If you size your project too big, most online platforms will either reject the file or compress it (looks bad). The above size works perfect for most profile photos on social-media.
Step 3: Click on “Uploads” in the left side bar and upload your headshot.
Step 4: Click on “Elements” and then find “grids”, there’s an object that’s just one panel, click on that one.
Step 5: Go back to “Uploads”, drag and drop your headshot from that section into the grid panel you just added.
Step 6: Click on your headshot, and then click on the “Effects” button at the top of the editor.
Step 7: Click on “Background Remover” on the top left.
Step 8: Boom! You’re done.
If you’d like a transparent PNG, just click “Download” on the top right and then click “Transparent Background” and then “Download” again.
Optional: If you want to add a different background to your headshot, you can also add another Grid panel to the background and swap in another photo. The most common backdrops would be a city or office. If the background photo is taken in sharp focus, we recommend adding the “Blur” effect to that panel at 35% to 45% strength.
That’s a wrap! Follow the steps here, and you can liberate your headshot from its background and use it wherever you like.


